Drains & Sewer6 min read
How to Change a Bathroom Faucet Without Creating a Leak
A practical bathroom-faucet replacement guide covering fit, shutoffs, supply lines, drain hardware, testing, and when to call a plumber.
By JB Water & Air · Published Nov 9, 2025 · Reviewed Sep 2, 2026
- 4.9 · 582 Google reviews
- CR-77 licensedROC #260511 · CR-77
- Open 24/7
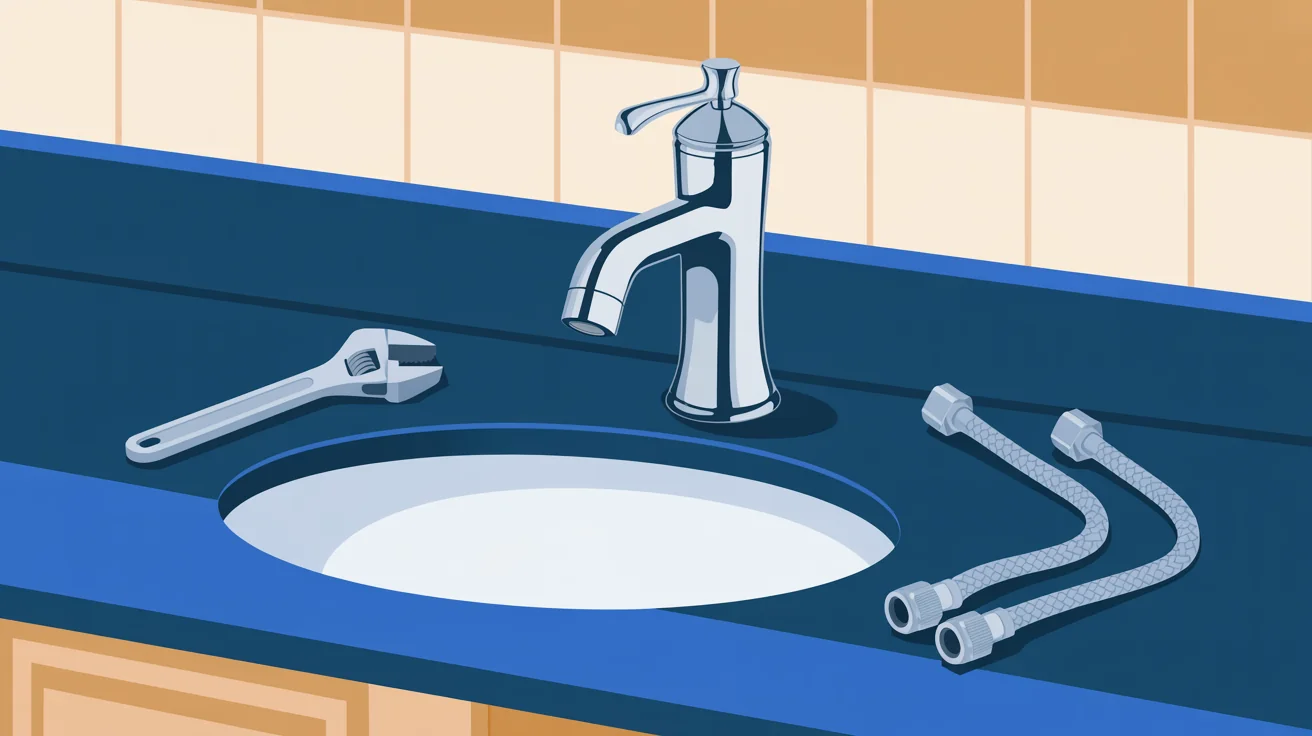
Changing a bathroom faucet can be a reasonable DIY project when the new fixture matches the sink, the local shutoff valves work, and the connections are accessible. The hard part is rarely the faucet above the counter. It is recognizing a corroded valve, incompatible hole pattern, damaged supply line, or leaking drain connection before a small update becomes an uncontrolled leak.
Start by identifying the exact installation you have. If anything under the sink is badly corroded, the cabinet is swollen from an old leak, or the shutoffs do not fully stop the water, pause and arrange professional plumbing service instead of forcing the parts.
Confirm the replacement faucet will fit
Look beneath and above the sink before shopping. Bathroom faucets commonly use one of these layouts:
- Single-hole: the handle and spout share one mounting hole.
- Centerset: three holes are close together and typically covered by one base.
- Widespread: the hot handle, spout, and cold handle mount separately with more space between them.
Measure from the center of the left outer hole to the center of the right outer hole. Also check the countertop or sink thickness, clearance behind the spout, handle movement near the backsplash, and whether the faucet includes a deck plate.
If the kit includes a pop-up drain, check the sink’s overflow design. A drain made for a sink with an overflow opening should not automatically be substituted for one designed without it. Confirm finish, supply-connection size, and whether new flexible connectors are included or must be purchased separately.
Gather tools and read the manufacturer’s instructions
The exact parts and sealants vary by faucet. Read the manual before removing the old fixture. A typical job may use:
- Adjustable wrenches or the sizes specified by the manufacturer
- A basin wrench for hard-to-reach mounting nuts
- Bucket, towels, and a flashlight
- Screwdriver and pliers as required by the drain linkage
- Nonabrasive cleaning supplies
- Plumber’s putty or an approved sealant only where the instructions call for it
- New supply connectors if the existing ones should not be reused
Thread-seal tape is not appropriate for every faucet connection. Many modern supply connectors seal with an internal washer, not tape on the threads. Follow the fixture and connector instructions rather than adding material by habit.
Step 1: locate the main shutoff before touching anything
Knowing where the home’s main water shutoff is does not mean you should operate a stiff or corroded valve as a test. Identify it and make sure the path is clear. If it is damaged, inaccessible, or on the utility side of the meter, contact a plumber or the water provider as appropriate.
Place a bucket under the bathroom connections. Close the hot and cold fixture stops gently. Open the faucet to confirm that flow stops and to relieve pressure. If either side continues flowing, the local stop may not be holding; do not disconnect that supply line.
Step 2: disconnect the supplies carefully
Take a photo of the original connections. Support the shutoff or faucet fitting with a second wrench when appropriate so loosening one nut does not twist the pipe in the wall. Expect a small amount of trapped water and direct it into the bucket.
Replace a supply connector if it is kinked, corroded, abraded, too short, or not approved for reuse. Do not stretch a connector or join two flexible lines merely to gain length. Confirm that the new connector matches both the stop and the faucet inlet.
Step 3: disconnect the drain linkage if required
Many bathroom faucets operate a pop-up stopper through a lift rod. Photograph the pivot rod, clip, and strap before taking them apart. Put the small pieces somewhere safe.
If the new faucet includes a different drain assembly, the trap may also need to be removed. A deteriorated or misaligned trap can leak when reassembled. If you are only changing the faucet and the existing drain works, check whether the manufacturer actually requires replacing it.
Step 4: remove the mounting hardware and old faucet
Loosen the nuts beneath the sink while supporting the faucet above. Mineral deposits and corrosion can make old hardware stubborn. Avoid aggressive prying against porcelain or brittle countertop material. If a nut will not move with normal hand tools, cutting hardware in a confined cabinet carries risk and may be better handled by a plumber.
Lift the old faucet away and clean the mounting surface without scratching it. Remove old putty or sealant and inspect for cracks, soft countertop material, or evidence that water has been traveling under the fixture.
Step 5: install the new faucet in the specified order
Follow the gasket, base plate, washer, and mounting-nut order in the manual. Center the faucet before tightening from below. Tighten evenly and only as directed; excessive force can crack a sink, distort a gasket, or damage the mounting hardware.
Connect hot to hot and cold to cold. Route supply lines without twisting, rubbing against sharp edges, or creating tight bends. Hand-start threaded connections to avoid cross-threading, then tighten according to the connector instructions.
Step 6: install and align the drain hardware
If replacing the pop-up assembly, use only the sealant specified for that drain and sink material. Align the stopper so it opens high enough to drain and closes fully. Reconnect the linkage without binding it against the supplies.
Reassemble any trap joints squarely. Slip-joint washers must face the correct direction and seat evenly. A crooked connection may appear dry at first and begin leaking after several sinkfuls of water.
Step 7: restore water slowly and test under load
Remove the faucet aerator if the instructions recommend flushing debris before use. With the faucet handles closed, open each fixture stop slowly while watching every connection. Dry the fittings, then use a fresh tissue or paper towel to detect new moisture.
Run cold and hot water separately, reinstall the aerator, operate both handles, fill the basin, release it, and cycle the stopper several times. Inspect the supply connections, faucet base, drain flange, pivot rod, trap, and cabinet floor. Recheck later because a very slow seep may not show immediately.
Stop the project if any of these occur
Call for help if a shutoff begins leaking from its stem or body, a pipe twists in the wall, a compression fitting will not seal, the sink or counter is cracked, or water appears from a hidden area. Shut off water only through a valve you can operate safely. If water is approaching electrical equipment, avoid the area and use the appropriate emergency response.
JB Water & Air publishes leak detection and emergency plumbing service information. Call to confirm that the requested scope and response timing are currently available.
When a professional installation makes sense
A plumber is useful when the valves need replacement, the faucet layout must be adapted, rigid or corroded piping is involved, access is extremely tight, or the new drain does not align with the trap. It is also reasonable to hire the job simply because reliable leak testing matters more to you than doing it yourself.
For a bathroom faucet assessment in Mesa, contact JB Water & Air at (480) 969-3193. The family-owned company has served the area since 1981 under Arizona plumbing license ROC #260511 (CR-77). Share photos and fixture details when arranging service, but expect the final scope to depend on what is found at the sink.