Drains & Sewer5 min read
Removing a P-Trap: Safe Steps, Limits and Reassembly Checks
A practical guide to removing an accessible sink P-trap, checking for a local blockage, reinstalling it correctly, and knowing when to call a plumber.
By JB Water & Air · Published Oct 24, 2025 · Reviewed Sep 2, 2026
- 4.9 · 580 Google reviews
- CR-77 licensedROC #260511 · CR-77
- Open 24/7
Removing an accessible sink P-trap can make sense when one sink drains slowly and the obstruction appears to be in the curved section directly below it. Stop if the piping is glued, heavily corroded, cracked, under tension, or difficult to reach. Multiple slow drains, wastewater at a lower fixture, or sewage odors that persist after reassembly point to a larger issue than a removable trap.
What a P-Trap Does
The P-trap is the U-shaped section of drain piping beneath many sinks. It retains a small amount of water after the sink drains. That water seal helps keep sewer gases on the drain side of the plumbing system while still allowing wastewater to pass.
The bend also catches objects and debris. A ring, cap, food residue, hair, or buildup can lodge there and slow a single fixture. That makes the trap a reasonable first place to check, but only when the symptoms are local.
If several fixtures are affected, the likely restriction may be farther downstream. Read the drain-cleaning decision guide before taking apart multiple fixtures.
Before You Loosen Anything
Look at how the trap is assembled. A typical removable plastic trap uses slip nuts and tapered washers. Other installations may use metal parts, glued fittings, unusual offsets, or a trap that has been forced out of alignment. Those conditions change the risk.
Prepare the area before starting:
- Stop using the sink and remove everything from the cabinet.
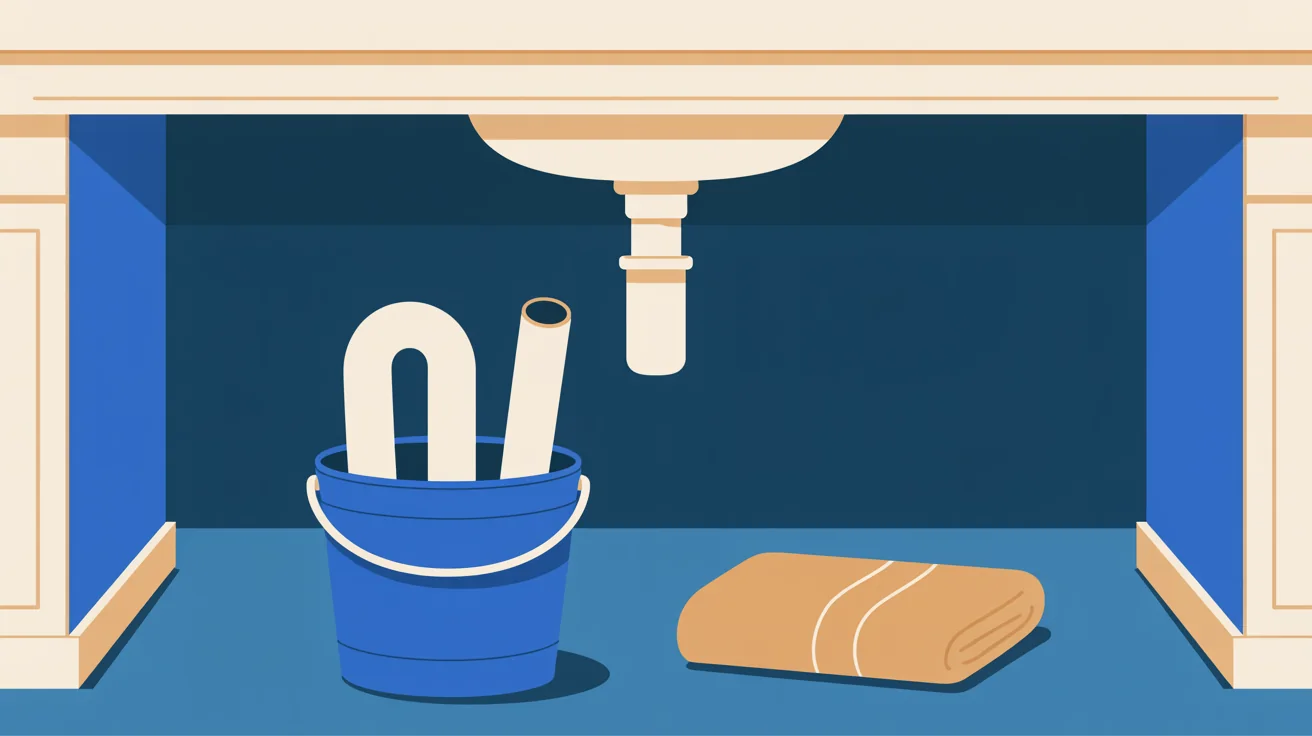
- Put a shallow bucket or pan beneath the trap. It will contain water and debris.
- Wear gloves and eye protection, particularly if the sink water is dirty.
- Take a clear reference photo of the existing orientation and washer positions.
- Have towels ready and protect cabinet materials that can swell when wet.
- If a harsh chemical drain opener was recently used, do not open the trap. Splashes can cause injury; tell the plumber exactly what product entered the drain.
Turning off the faucet’s supply valves is optional for ordinary trap work because the trap is on the drain side, but it can prevent someone from accidentally running the sink while the drain is open. Never depend on memory alone in a shared home, mark the faucet as unavailable.
How to Remove a Removable Plastic Trap
Support the curved section with one hand while loosening the slip nuts. Many plastic nuts can be turned by hand. A dry cloth may improve grip. Avoid crushing plastic with a pipe wrench or applying enough force to twist nearby piping.
Loosen the nut at each end gradually. Keep the bucket centered below the trap, then lower the curved section without tipping its contents into the cabinet. Note the direction of each tapered washer as it comes apart. A washer installed backward may leak even when the nut feels tight.
If a nut will not move with modest effort, stop. Corrosion, cross-threading, paint, sealant, or stress in the assembly may make removal destructive. Likewise, do not cut a glued trap out as a casual clog-clearing step. A plumber can determine whether the assembly should be repaired or replaced.
What to Check While It Is Open
Empty the trap into the bucket and retrieve any object carefully. Remove soft debris with a flexible brush or another non-damaging tool. Do not strike, heat, or aggressively scrape the fitting.
Inspect the parts before reassembly:
- Look for splits, deformation, severe scoring, or brittle plastic.
- Check whether the slip nuts turn freely on their threads.
- Inspect tapered washers for tears, flattening, or distortion.
- Look at the short pipe entering the wall and the vertical tailpiece from the sink for visible damage or misalignment.
- Confirm that no object remains where the trap connects to the next pipe.
A trap full of debris may explain the symptom. An empty trap with a persistently slow sink suggests the restriction is elsewhere. Avoid pushing a rigid tool blindly into concealed piping; it can damage a fitting or compact the obstruction.
Reassembly and Leak Testing
Reinstall the trap in the same orientation shown in the reference photo. Seat the washers correctly and start each slip nut by hand so the threads are not crossed. Bring the parts together without forcing the tailpiece or wall connection sideways.
Hand-tighten the nuts until the joints are snug. More force is not automatically better: overtightening can deform washers, crack plastic, or make the next removal difficult.
Test in stages:
- Wipe every joint dry.
- Run a small amount of water and watch both connections.
- Fill the sink partway, then release it while observing the trap under the higher flow.
- Dry the joints again and check with a clean tissue for a slow seep.
- Recheck after the cabinet has remained dry for a short period.
If a joint drips, turn off the faucet and reseat the connection. Repeated tightening without checking alignment and washer orientation can make the problem worse. A damaged assembly may require fixture and connection repair rather than another adjustment.
When the P-Trap Is Not the Problem
Call for help if the sink remains slow after the trap is clear, the leak continues after careful reassembly, or the piping appears damaged. Other warning signs include gurgling in nearby fixtures, recurring clogs, wastewater rising in a tub or shower, and sewage odors with a water-filled trap. Those symptoms can justify broader inspection rather than repeated trap removal.
If water is escaping into a cabinet or wall and the source is unclear, the leak-detection service guide explains what information helps narrow the source. If wastewater is backing up or water cannot be safely contained, review the emergency plumbing steps and stop using affected fixtures.
Get the Right Level of Help
A removable P-trap is a small, visible part of a larger drain system. Treat it as a focused check, not proof that the rest of the line is clear. For a trap that will not release, damaged piping, repeated blockage, or a leak that persists after reassembly, contact JB Water & Air with the affected fixture, the symptoms, and what has already been tried.